I may not have as much time to make things from scratch as I once did (six kids, homeschooling, and a business will do that!), but when apples are in season we always find time to make homemade applesauce.
Unlike some other canning adventures of mine, I always feel like homemade applesauce is well worth the effort, plus it makes the house smell great!
A word of caution though … your family will never want to eat store-bought applesauce again! Mine won’t!
How to Make Applesauce from Scratch, Step by Step
Homemade applesauce is out of this world. There’s seriously a night and day difference between homemade applesauce and the store-bought versions that are bland and watery in comparison. (And I’m just skipping over the vices of sweetened store-bought applesauce entirely… )
While it’s super easy to whip up a small batch as needed and serve it fresh, in our family we usually need to make a larger amount and so we can or preserve.
Here’s what we do…
Step 1: Make a Plan to Can
Making and canning applesauce probably works best on the weekend if you have littles underfoot like I do. We usually pick a good fall weekend and make it a family event. (Extra hands make light work and all!)
We usually reserve Saturdays and Sundays for family time so it works to head out together to a local farm or farmer’s market to get our apples. The kids get to take in the sights and sounds (and tastes!), and we often score some decently priced organic local produce to take home.
Step 2: Estimate Quantity
How much to make will vary by family of course, but it’s an important step to consider. Nothing kills the joy of cooking from scratch and canning like taking on too much at one time. (Ask me how I know…)
In my experience one bushel of apples yields roughly 15-16 quart jars of applesauce, so I usually go for 2 bushels to last our family of 8 for 4-6 months.
Some equivalents that are helpful to remember:
-21 lbs of apples = about 7 quarts of processed applesauce (one water bath canner full)
-1 bushel = 40 lbs of apples
Of course it doesn’t hurt to buy extra for snacking, baking, or dehydrating. We love to make seasonal dishes with them like apple cinnamon muffins, sausage stuffed apples, bacon apple chicken, or apple pork chops.
Step 3: Buy Apples (preferably local and organic)
Making homemade applesauce may not save time, but it does save money. The first year I tried making applesauce I was able to get a bushel of organic apples from our CSA for only $20. (A crazy good deal!)
The key is to ask for “seconds” (the not-so-pretty apples with small defects in appearance). This is no problem for applesauce since the apples will be cooked down and blended anyway. We get different kinds of apples each year depending on what is available from the farmer and experiment with what we like best, but Macintosh, Jonathan, Gala, Fuji, and Ida Red are some of our regulars. The key is to use 3 or more varieties and mix them together, rather than just using one kind.
The cost for my homemade applesauce usually breaks down something like this:
- Cinnamon: ~$.50
- Organic apples (per bushel): ~$20-25
- Canning lids: ~$4.50
- Canning jars and rings: already own
In the end, it all comes out to roughly $1.60 per quart … much cheaper than most store-bought applesauce (especially organic) and much better quality!
Step 4: Wash and Prep
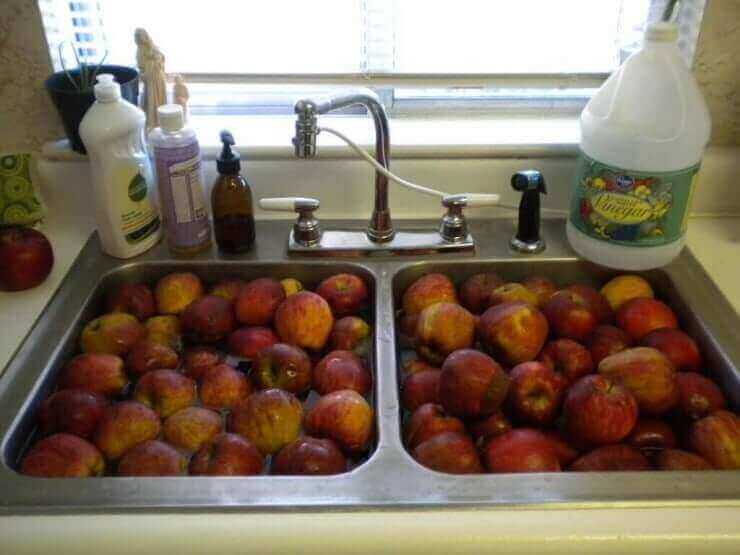
Although I usually confirm with the farmer that the apples are free of pesticides and wax, I recommend soaking the apples in the sink in some vinegar and water, just to get off any dirt or debris from harvesting. After soaking, rinse well with plain water.
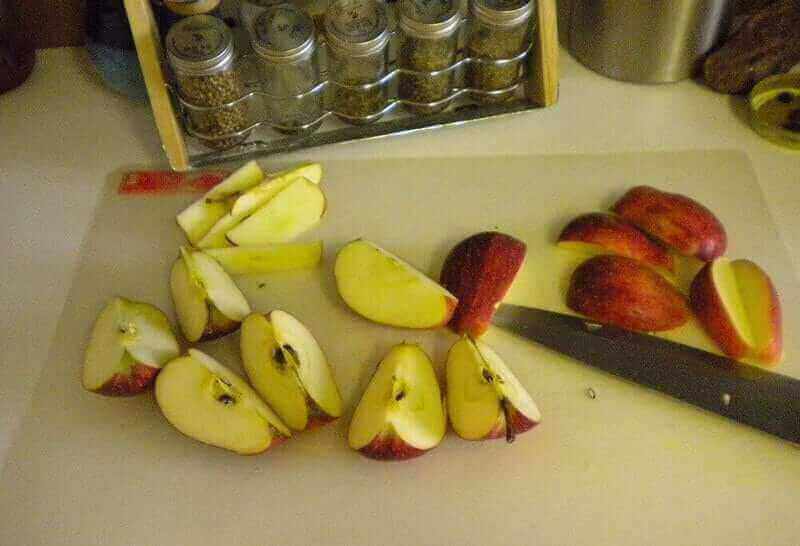
Homemade applesauce recipes call for different preparations, but I prefer to leave the skins on. (We’ll make them disappear in one easy step later!) I cut the apples into quarters, cut out the cores, and then they are ready for the next step.
(If you have a KitchenAid mixer, there are attachments that do the slicing and coring quite beautifully … )
Step 5: Cook Until Soft and Blend
Using a crockpot, Instant Pot, or even just a large stock pot, simmer apples covered and on medium heat with a little bit of water (less than a cup) in the bottom of the pot. I usually add a few tablespoons of cinnamon for each pot full of apples.
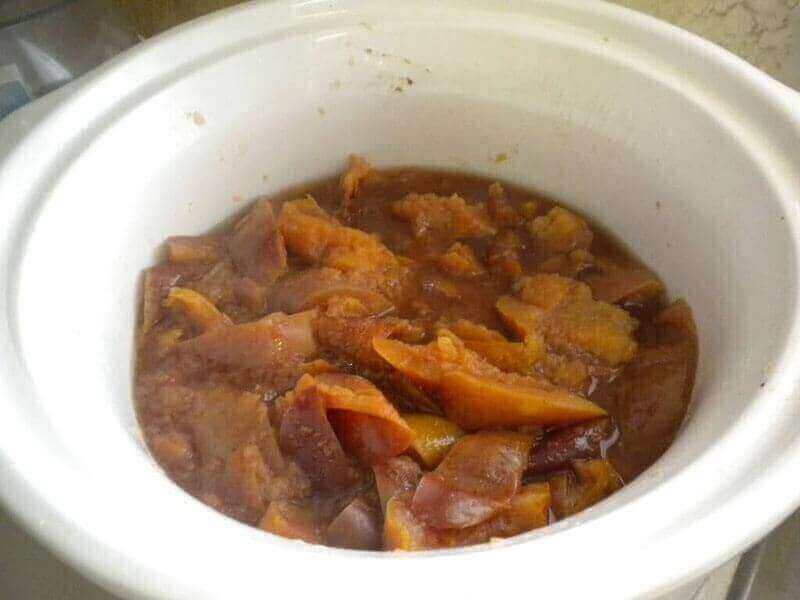
Since I leave the skins on the apples, once the apples are soft I use an immersion blender to blend them smooth right in the pot. A large blender or food processor could work here as well. The point is to get the skins blended in so they’re not even noticeable and the sauce to the preferred consistency.
Step 6: Freeze, Can, or Just Eat Applesauce!
At this point, the applesauce is ready to eat! This is a great time to dish out some warm applesauce to any kitchen helpers before moving on to the next steps if you’re canning and preserving.
If you’re new to canning, this helpful FAQ might be a good place to start.
Here’s to a new fall tradition! I hope you love it as much as we do!
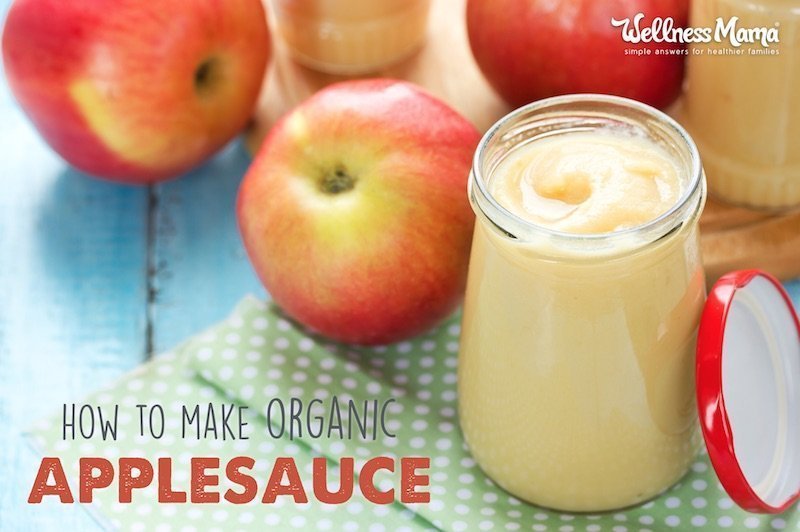
Homemade Applesauce Recipe
Servings
Ingredients
- apples
- cinnamon
Instructions
- Soak the apples in vinegar and water in the kitchen sink for a couple of hours to remove any dirt or chemical residue. Rinse well after soaking or there will be a slight pickle taste to your applesauce. This step is not as necessary with organic apples, but is still a good way to clean them.
- Quarter and core the washed apples. I leave the skin on because we blend the applesauce later in the process and no pieces of skin are even noticeable, but feel free to peel if preferred.
- Put all the apples in a Crock-Pot, Instant Pot, or similar sized pot on the stove with a little bit of water (less than a cup) and cinnamon to taste. I usually add a few tablespoons of cinnamon for each pot full of apples.
- Cook the apples on medium heat until soft. Time varies, but expect at least a few hours. The house will smell great all day as they cook!
- When the apples are soft and skins are starting to fall off, turn off the heat and let the apples cool to closer to room temperature so they can be blended safely. Use either a blender or hand blender (not hand mixer) to puree the apples until smooth. You could also use an hand mill for this, but I have never tried it. The applesauce is now ready to eat! If storing fresh, pour into clean quart jars, top with lid, and store in refrigerator.
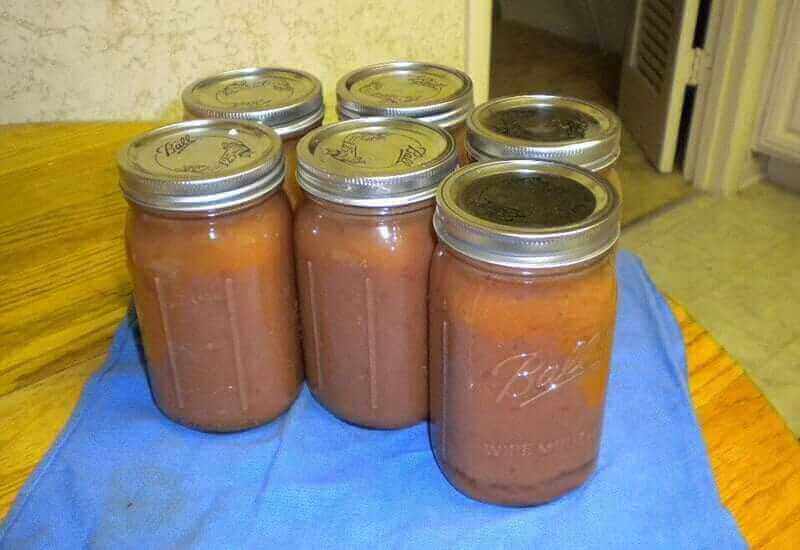
- For hot water bath canning: Reheat the now smooth applesauce to boiling and then turn off heat. Immediately put into very clean jars and can according to your canner instructions.
Nutrition
Notes
Ever made applesauce? How did it turn out?

Leave a Reply