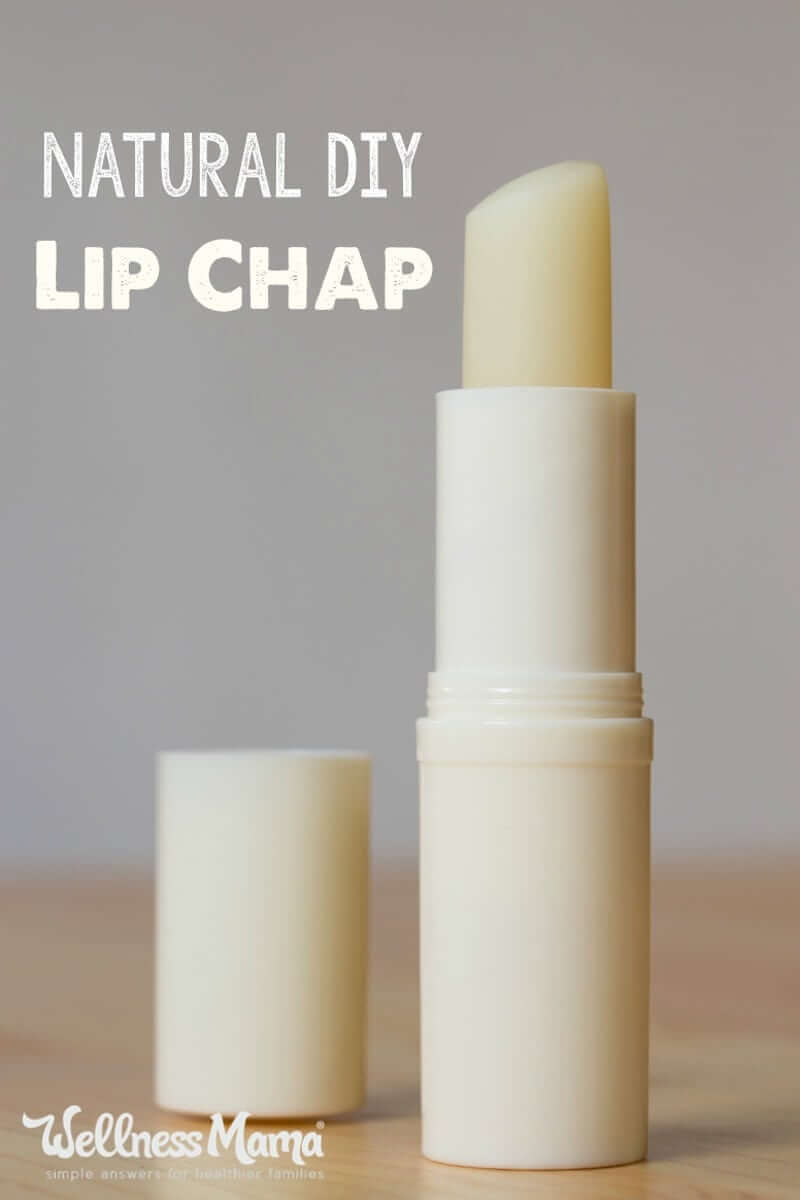
I started making my own DIY lip balm years ago after my favorite healthy brand of chapstick added soy and canola oil. Yuck! This natural lip balm recipe is easy to make with just a few ingredients. Plus it’s moisturizing to help fight dry lips all year long.
DIY Lip Balm Recipe
Making your own lip balm at home is simple and a lot less than buying organic brands at the store. These also make a great gift item, stocking stuffer, or safe play makeup for kids. I keep a lot on hand when doula-ing to give to laboring moms as hospital air can really dry out skin and lips.
And lip balm uses all-natural ingredients that can also be used to make dozens of other natural skin and body care recipes. You can find coconut oil, beeswax, and cocoa butter in my other DIY projects like lotion and body butter.
Buying Organic Lip Balm
Too short on time or don’t feel like making your own? Here’s where to get healthy, natural lip balm!
How to Make Lip Balm
Since lip products are applied right next to the mouth and nose, it’s important to me that they have safe, natural ingredients. Especially if my kids are using them! While I used coconut oil, there are a lot of different carrier oil options. Coconut oil is solid at cooler temperatures so it creates a firmer lip balm. It also has some mild SPF properties.
If you want something a little softer you can use less beeswax, or sub up to half of the coconut oil with another liquid oil. Using just liquid oil will make for a softer lip balm though. Here are a few lip nourishing options:
Castor oil leaves a nice shine on the lips and is a popular ingredient in homemade lip gloss recipes. It won’t replace the coconut oil 1 to 1 in this recipe. But you can replace about 1 teaspoon of the coconut oil for a shinier look and smooth feel.
Essential Oils for Lip Balm
Aromatherapy is big these days, but not all of the products on store shelves use real essential oils. While kids (and some adults) may love the smell, strawberry bubble gum-scented lip balm isn’t exactly natural. But not every essential oil is safe to use on the lips either.
Certain oils, like cinnamon bark and lemongrass, can be really irritating. Especially on more sensitive areas like the lips. Many essential oils can be safe on the lips up to 5% dilution, which is about 60 drops here. However, I prefer to use much less than that.
Here are a few lip safe options:
- Peppermint essential oil
- Sweet orange
- Grapefruit
- Eucalyptus
- Tangerine
- Lemon (1% or 13 drops maximum)
There are a few that smell really yummy that didn’t make the list. Lime, bergamot and a few other oils can cause photosensitivity if too much is used before sun exposure. Translation: think swelling, redness, and lip damage.
Something like lemon is safe to use at a 1% dilution max, but going over safe levels can cause sun damage. You may still not want to use lemon lip balm and then go sunbathing for an hour though.
For the most part, though, you can mix and match any lip-safe essential oil to your preference.
Choosing a Container
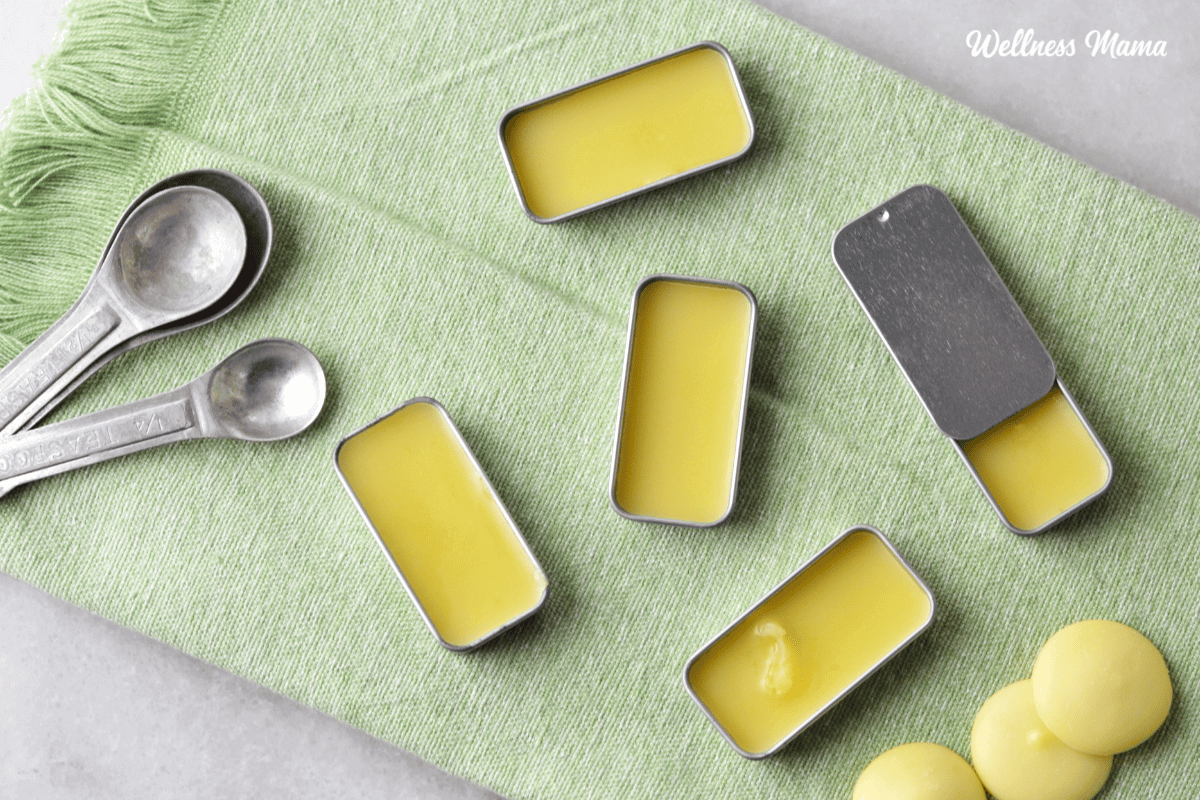
I usually use these lip balm tubes for easy application but repurposed little jars or tins work really well too. I had a bunch of tiny sample-size jam jars that were in our room at a hotel one time and they are perfect for this as well.
A Note on Wax
I typically use beeswax pastilles when making lip balm. It helps harden the lip balm and provides a protective coating on the lips. For various reasons, some people prefer to make a vegan lip balm and candelilla wax works as a sub. It’s harder than beeswax though so less is needed.
If you haven’t made your own beauty products before, I’d encourage you to try it! The basic recipe is below, but have fun experimenting with the oils and flavors to get the scent and flavor you like. Mint is my favorite, especially in the winter!
Homemade Lip Balm Recipe
Materials
- 1 TBSP beeswax pellets
- 2 TBSP cocoa butter (Shea butter or mango butter will also work)
- 2 TBSP coconut oil
- 20 drops essential oil of choice (adjust amount to preference)
- 13 drops vitamin E oil (optional)
Instructions
- Add about an inch of water to the bottom of a small pan and heat over medium heat.
- Place a small heat-safe jar (pint size or smaller) in the water, being careful not to get any water inside the jar. You can also use a double boiler or a glass bowl perched on top of a small pot of water if preferred.
- Add the cocoa butter, coconut oil, and tablespoon of beeswax to the jar and slowly melt, stirring occasionally. Make sure not to get any water in the jar.
- When all the ingredients are melted, stir well and turn off the heat, but leave jar in the water to keep warm.
- Stir in the essential oils.
- Use a glass dropper to quickly fill the lip balm containers, like tubes or lip balm tins.
- The mixture will settle slightly as it cools, so I top off the containers after about 2 minutes as they start to harden.
- Let sit without touching for several hours or until completely hardened.
Notes
- Shelf life and storage: Keep in a cool, dry place for up to a year. The optional vitamin E oil helps extend the shelf life even further.
- This will make a medium firm lip balm. If you prefer a firmer version, you can add more beeswax, up to double the recommended amount. If you prefer a smoother and more oily lip chap, you can reduce the amount of beeswax.
More DIY Lip Recipes
Want to branch out and try more DIY skincare recipes? Here are some more I’ve created over the years:
- Sugar cookie lip scrub (with vanilla extract)
- Healing lip salve
- Tinted lip balm
- Homemade lipstick
- Shimmer lip balm
- Mint chocolate lip scrub
- Lip balm locket
Do you make any of your own lip balm? What recipes would you like to try? Share below!


Leave a Reply